


How to properly install RAM on your computer
15/11/2024

How do I properly install RAM on my computer?
Installing RAM may seem like a daunting task for beginners, but with the right information and approach, you can easily accomplish this task on your own. This guide will show you how to properly install RAM to keep your computer running fast and efficiently. As a gaming computer expert, I will share proven methods and tips that will help you avoid common mistakes.
Preparing for installation: what you need to know in advance
Before you begin installing RAM, make sure you have prepared properly. A mistake at this stage can lead to performance problems or even component damage.
Check compatibility.
See what memory your motherboard supports. This can be found in your motherboard's manual or on the manufacturer's website. Make sure you choose memory of the recommended type (DDR3, DDR4, etc.) and frequencies that will be compatible with your PC.Turn off your PC and unplug it from the mains.
Before you begin the installation, turn off your computer and unplug it from the mains. This is important for the safety and protection of your equipment.Prepare your workstation.
Make sure your desktop is clean and free of electrostatic charge. It is advisable to use an anti-static wrist strap or at least periodically touch the metal part of the computer case.
Step-by-step instructions for installing RAM
Now that you have prepared everything you need, you can move on to the installation itself.
Step 1: Opening the computer case
First, you need to remove the side cover of the case. This is usually secured with a few screws that can be easily removed with a screwdriver. After that, carefully remove the cover, being careful not to damage it.
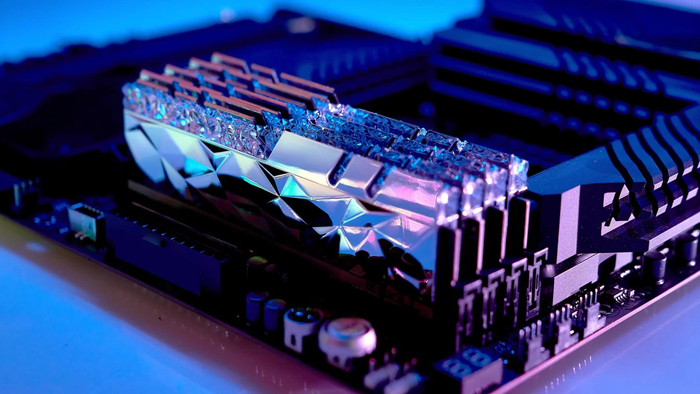
Step 2: Identify the RAM slots
The RAM slots are located on the motherboard and are easy to find thanks to the distinctive teeth. Usually, memory modules are placed in parallel slots to activate dual-channel mode, which increases performance.
Step 3: Installing the new memory module
Before inserting the new memory, unlatch the tabs on the sides of the slot. Take the memory module, match the notch on the module with the protrusion in the slot, and gently insert it. Apply even pressure to both sides of the module until the latches automatically lock into place.
Step 4: Checking and closing the case
After installing the memory, once again check to make sure the modules have snapped tightly into place. Then put the side cover back in place and tighten the screws.
Testing and diagnostics
After successfully installing and closing the case, connect the computer to the power supply and turn it on. To make sure that the new memory modules are recognized correctly, go to the BIOS settings or open System Preferences in the operating system.
Checking through the BIOS.
In most cases, the BIOS will automatically recognize the new memory size. Go to the appropriate section of the BIOS and verify that the new amount of RAM is displayed correctly.Software testing.
You can use special utilities such as MemTest86 to check the stability of RAM operation. This will help to detect possible problems and incompatibilities at an early stage.
Closing remarks
Installing RAM is a simple process if you follow the step-by-step instructions and expert advice. Properly installed and working memory will significantly increase the performance of your computer, especially in games and demanding applications. Remember, the key to a successful upgrade is thorough preparation and careful handling of the components. I hope this guide has been useful and helped you get the job done!
Gaming PC gaming computers
Gaming Pc gaming computers from Gaming Pc show high performance and stability in games, providing a great gaming experience and efficient operation with all work programs.
 Free
Free shipping

Processor: Intel Core Ultra 9 285K
Video card: GeForce RTX 5070 Ti, 16GB
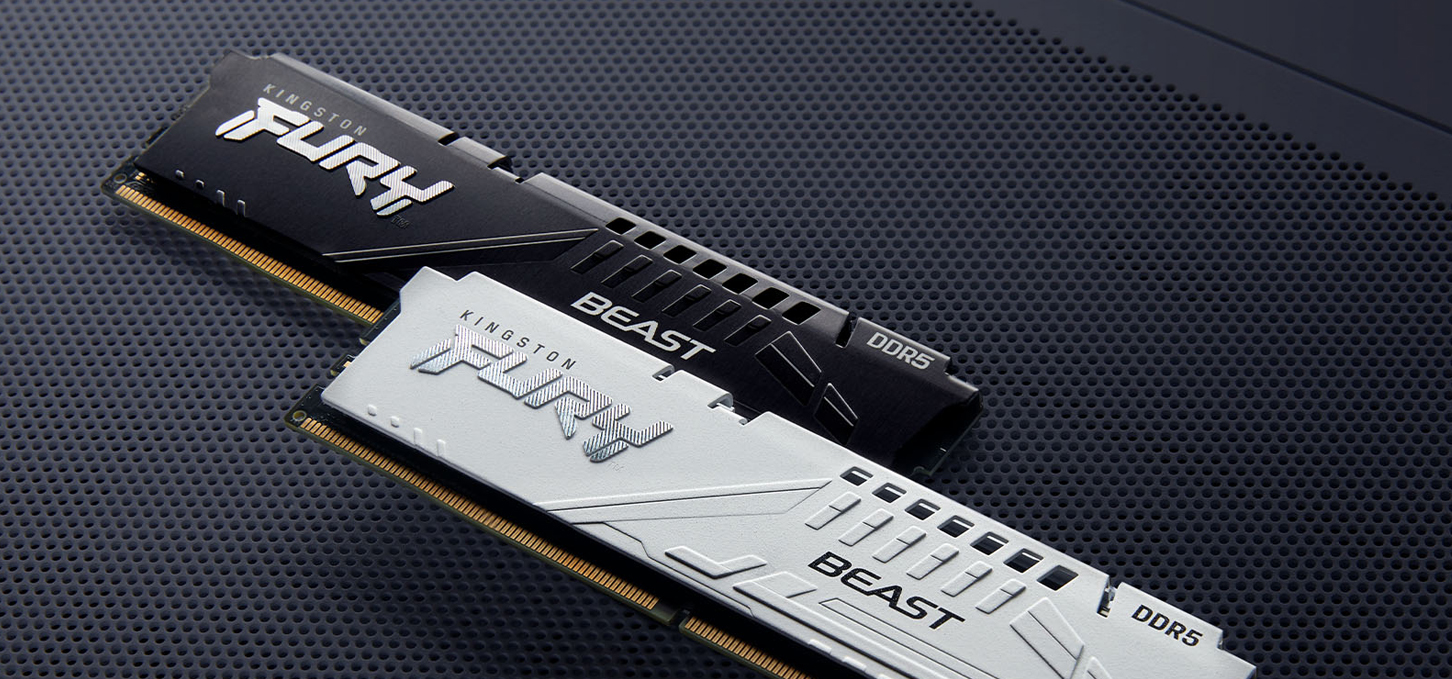
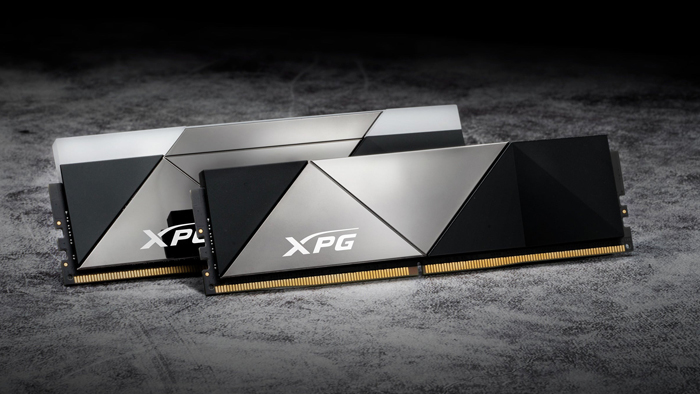
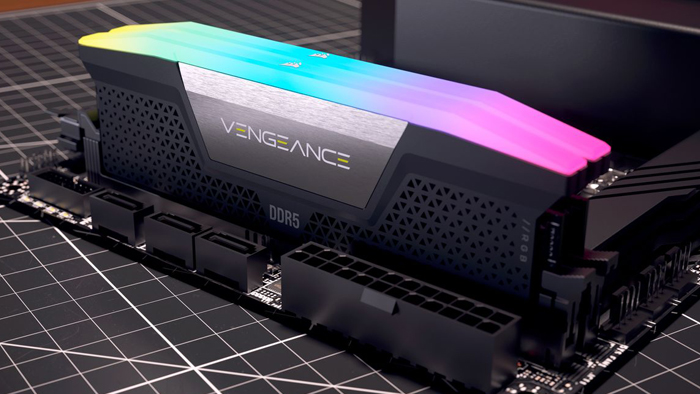
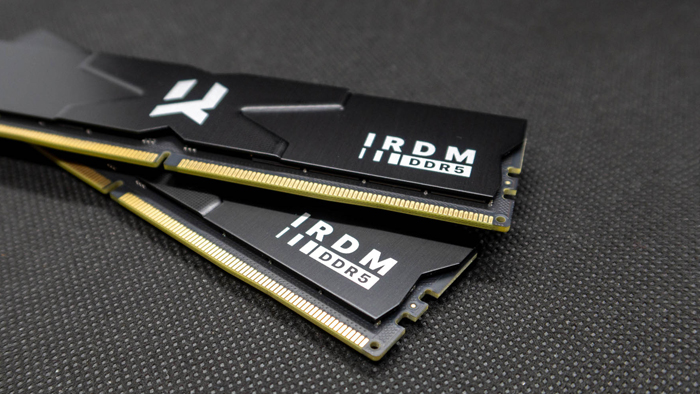
RAM: 32GB (16GBx2) DDR5 5600
Motherboard: ASRock Z890 PRO-A
SSD M2:SSD M.2 1TB / M.2 MSI M470 Pro
Free shipping

Processor: AMD Ryzen 7 7700
Video card: GeForce RTX 5070 Ti, 16GB
RAM: 32GB (16GBx2) DDR5 5600
Motherboard: Gigabyte B650M Gaming Plus WiFi
SSD M2:SSD M.2 1TB / M.2 MSI M470 Pro
Free shipping

Processor: AMD Ryzen 7 7800X3D
Video card: GeForce RTX 5080, 16GB
RAM: 32GB (16GBx2) DDR5 5600
Motherboard: Gigabyte B650M Gaming Plus WiFi
SSD M2:SSD M.2 1TB / M.2 MSI M470 Pro
Free shipping

Processor: Intel Core i5 13600KF
Video card: GeForce RTX 5080, 16GB
RAM: 32GB (16GBx2) DDR5 5600
Motherboard: Asus TUF Gaming B760M-Plus II
SSD M2:SSD M.2 1TB / M.2 MSI M470 Pro
Free shipping

Processor: Intel Core i5 14600KF
Video card: GeForce RTX 5080, 16GB
RAM: 32GB (16GBx2) DDR5 5600
Motherboard: Asus TUF Gaming B760M-Plus II
SSD M2:SSD M.2 1TB / M.2 MSI M470 Pro
Free shipping

Processor: Intel Core i7-14700KF
Video card: GeForce RTX 5080, 16GB
RAM: 32GB (16GBx2) DDR5 5600
Motherboard: Gigabyte Z790 Eagle AX
SSD M2:SSD M.2 1TB / M.2 MSI M470 Pro
Free shipping

Processor: Intel Core i7-13700KF
Video card: GeForce RTX 5080, 16GB
RAM: 32GB (16GBx2) DDR5 5600
Motherboard: Gigabyte Z790 Eagle AX
SSD M2:SSD M.2 1TB / M.2 MSI M470 Pro
Free shipping

Processor: Intel Core i9-13900KF
Video card: GeForce RTX 5080, 16GB
RAM: 32GB (16GBx2) DDR5 5600
Motherboard: MSI Z790 Gaming Plus WiFi
SSD M2:SSD M.2 1TB / M.2 MSI M470 Pro
Free shipping
Processor: Intel Core i9-14900KF
Video card: GeForce RTX 5080, 16GB
RAM: 32GB (16GBx2) DDR5 5600
Motherboard: MSI Z790 Gaming Plus WiFi
SSD M2:SSD M.2 1TB / M.2 MSI M470 Pro
Free shipping

Processor: Intel Core Ultra 7 265KF
Video card: GeForce RTX 5080, 16GB
RAM: 32GB (16GBx2) DDR5 5600
Motherboard: ASRock Z890 PRO-A
SSD M2:SSD M.2 1TB / M.2 MSI M470 Pro
Recommended reading

How do you make your computer a gaming computer?
Every year video games improve and become more and more attractive in terms of graphics and gameplay, but at the same time they become more demanding...
More details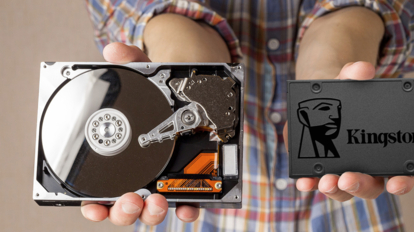
What is SSD and HDD: what is the difference and what is better to choose?
These days, every gamer and PC user is faced with a choice between SSD (Solid State Drive) and HDD (Hard Disk Drive). This decision can have a...
More details
Computer for Path of Exile 2
Path of Exile 2 is the long-awaited sequel to the popular ARPG from Grinding Gear Games. The game keeps the spirit of the first part, offering deep...
More details